First print guide

Start 3D Printing for Beginners With Confidence

3D printing for beginners becomes much easier when the first project is small, supported, and easy to inspect. Use this practical path to move from a simple model to a reliable finished object.

5
core setup decisions
30–90 min
typical first print
0.2 mm
useful starter layer height

Choose a useful start

what this scenario must deliver

The best first project teaches one skill at a time. Pick a goal that matches your tools, patience, and willingness to make small adjustments.

The complete newcomer

Choose a small holder, hook, or tray with flat surfaces and minimal supports. Pair the project with the best ai 3d model generator when you need a simple custom shape.

You learn loading filament, bed setup, slicing, and safe removal without hiding mistakes inside a complex object.

best ai 3d model generator

The practical home maker

Print a replacement clip, cable guide, or drawer organizer sized to a real household need. Use the model as a quick test of fit before committing to a longer print.

A useful object gives you a clear success test: it either fits, holds, or solves the problem.

3d christmas decorations

The creative learner

Start with a simple ornament or character token, then compare the result with ideas from 3d christmas decorations for shapes that print cleanly.

You practice orientation, surface detail, and finishing while keeping the project visually rewarding.

3d christmas decorations

The aspiring maker

Create a basic stand, enclosure, or game-piece prototype and use the best ai 3d model generator to explore variations before editing one in a modeling app.

You build a repeatable loop from idea to model, slice, print, inspect, and revise.

best ai 3d model generator

See the difference

each item

A successful first print is rarely about perfect detail. It is about making the object easy to print, easy to inspect, and easy to improve.

  • Unprepared first pass
  • Adjusted first print

The after version uses a flatter orientation, a clean build surface, slower first layers, and support-free geometry where possible. Those small choices matter more than chasing maximum resolution.

Rough first-pass print with lifted corners and visible layer issues
Clean beginner print with a stable base and consistent layers

Make one clear choice

quality bar

Use these decisions to keep your first 3D printing project within a comfortable learning range instead of adding several unknowns at once.

When

Choose a small PLA print when you are learning the printer controls.

Then

Use a model that fits comfortably on the build plate, has a broad base, and can finish in under two hours.

PLA is forgiving, widely available, and easy for beginners to observe while adjusting temperature, bed adhesion, and cooling.

When

Choose a larger functional print when you already trust your first-layer setup.

Then

Split the project into test pieces before starting the full object, especially if fit or strength matters.

Short tests expose sizing and warping problems before they consume a full spool and several hours.

When

Choose an AI-generated model only when the shape is visually simple.

Then

Inspect the mesh for holes, thin walls, floating parts, and unsupported overhangs before slicing.

A model can look finished on screen but still need repair or redesign to become a dependable printable object.
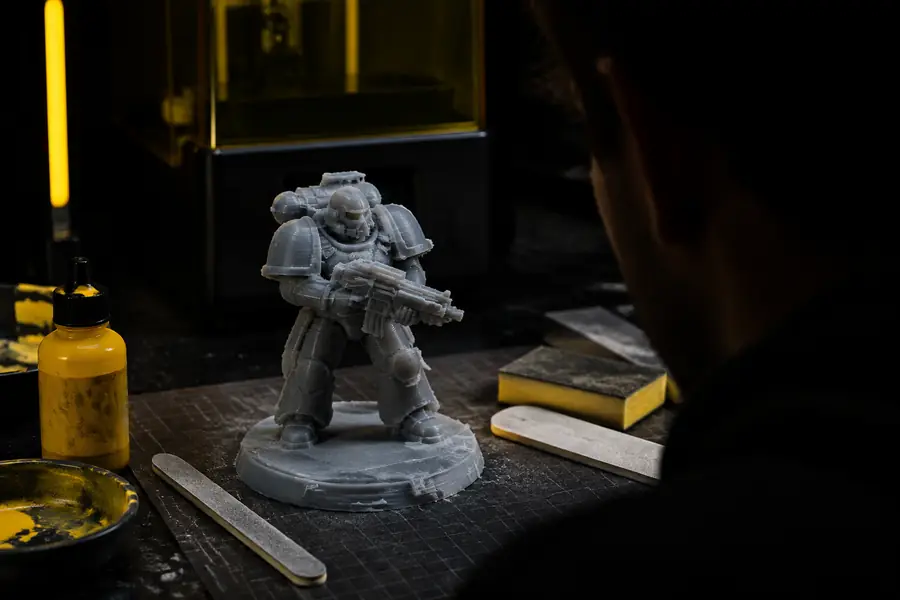
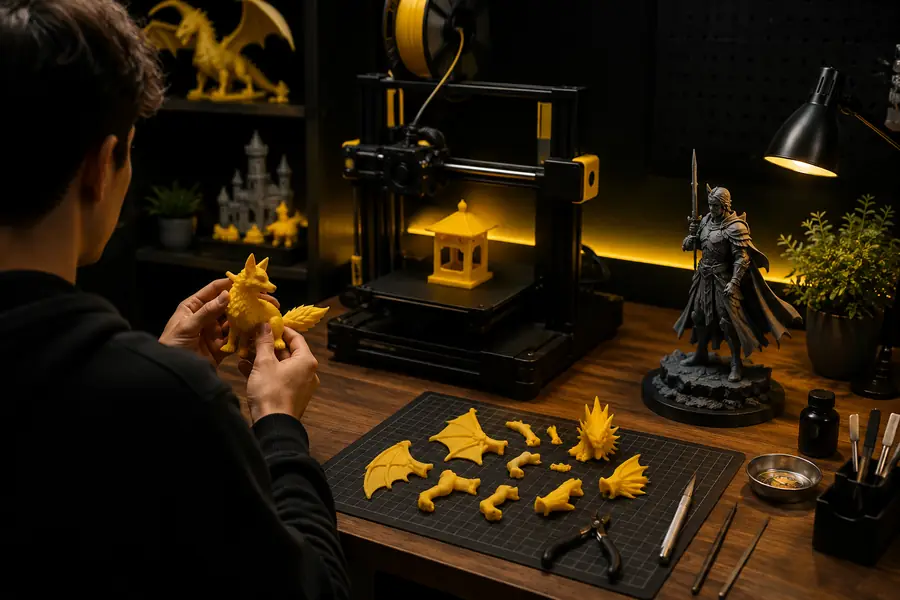
Keep the target realistic

common rework

Beginners usually lose time by correcting preventable setup errors. These benchmarks help define a good first attempt without demanding professional results.

1 clean bed, loaded filament, correct material profile
3 checks
2 a useful target for a first small test print
45 min
3 a practical starting range for many solid household objects
20–30% infill
4 adjust at a time when diagnosing a failed print
1 change

How the workflow matured

scenario FAQ

Modern 3D printing for beginners is less about mastering every setting and more about following a dependable sequence from idea to finished part.

  1. Start with a measurable goal

    Decide what the object must do, how large it should be, and whether appearance, fit, or strength matters most.

  2. Use a simple printable shape

    Prefer broad bases, moderate wall thickness, gentle angles, and few separate parts for the first project.

  3. Use a conservative profile

    Begin with standard layer height, moderate speed, supports only where needed, and enough walls for the object’s purpose.

  4. Watch the first layers

    Stay nearby during the opening minutes. Good adhesion and even lines are the strongest early signs that the print can continue.

  5. Record one improvement

    Note what worked and change only one variable next time, such as orientation, temperature, support, or scale.