Practical tutorial
Build a 2D to 3D Model AI Workflow That Works
This 2d to 3d model ai guide covers image preparation, generation, inspection, cleanup, and export so you can move from one reference image to a usable asset with fewer surprises.
- 5 steps
- From image to export
- 1 view
- Works from a clear reference
- 3 checks
- Geometry, materials, and scale
Core workflow
Numbered steps
Treat generation as the first pass, not the finished asset. These steps keep the process predictable and make problems easier to diagnose.
-
1
Prepare the reference
Choose a sharp image with one primary subject, visible edges, and limited visual clutter. A neutral background, even lighting, and a three-quarter view usually give the model clearer shape information. Crop out unrelated objects and avoid heavy shadows that can be mistaken for geometry.
-
2
Generate the first model
Upload the prepared image and describe the object in plain, concrete language. Mention the subject, approximate proportions, important openings, and the intended use. Keep the first prompt focused; adding many style instructions at once can make the silhouette less reliable.
-
3
Inspect, refine, and export
Rotate the result before judging it from the original camera angle. Check the back, underside, thin parts, symmetry, seams, and material boundaries. Regenerate when the silhouette is wrong, then use a 3D editor for small repairs, scale checks, UV work, lighting, and final export.
-
4
Validate in the destination app
Open the exported file where it will actually be used. Confirm that the format loads correctly, textures are present, normals face the right way, and the polygon density is appropriate for the scene, product viewer, game engine, or printer.
Before you begin
Prerequisites
A little preparation has more impact than a long prompt. Use this checklist before sending an image through an AI model generator.
-
One main subject is clearly separated from the background
RequiredRemove extra objects, people, labels, and distracting scenery.
-
The reference shows the object at a useful angle
RequiredA three-quarter view often reveals more depth than a flat front view.
-
Edges and important features are visible
RequiredOpenings, handles, legs, ridges, and thin parts need enough contrast.
-
The image is sharp enough to inspect
RequiredBlur and compression hide the cues the generator needs.
-
A destination format has been chosen
RequiredDecide whether the result is headed to a browser, Blender, Unity, a product viewer, or a printer.
-
A second reference view is available
OptionalExtra views can help with difficult objects, but a clean single image is a useful starting point.
-
Basic 3D editing software is available
OptionalUse it for scale, topology, materials, lighting, and repairs rather than expecting generation to solve every detail.
Quality control
Common errors and fixes
Most weak results come from ambiguous input or judging only the front view. If the first pass fails, identify the specific failure instead of changing everything at once.
Visual check
Advanced tips
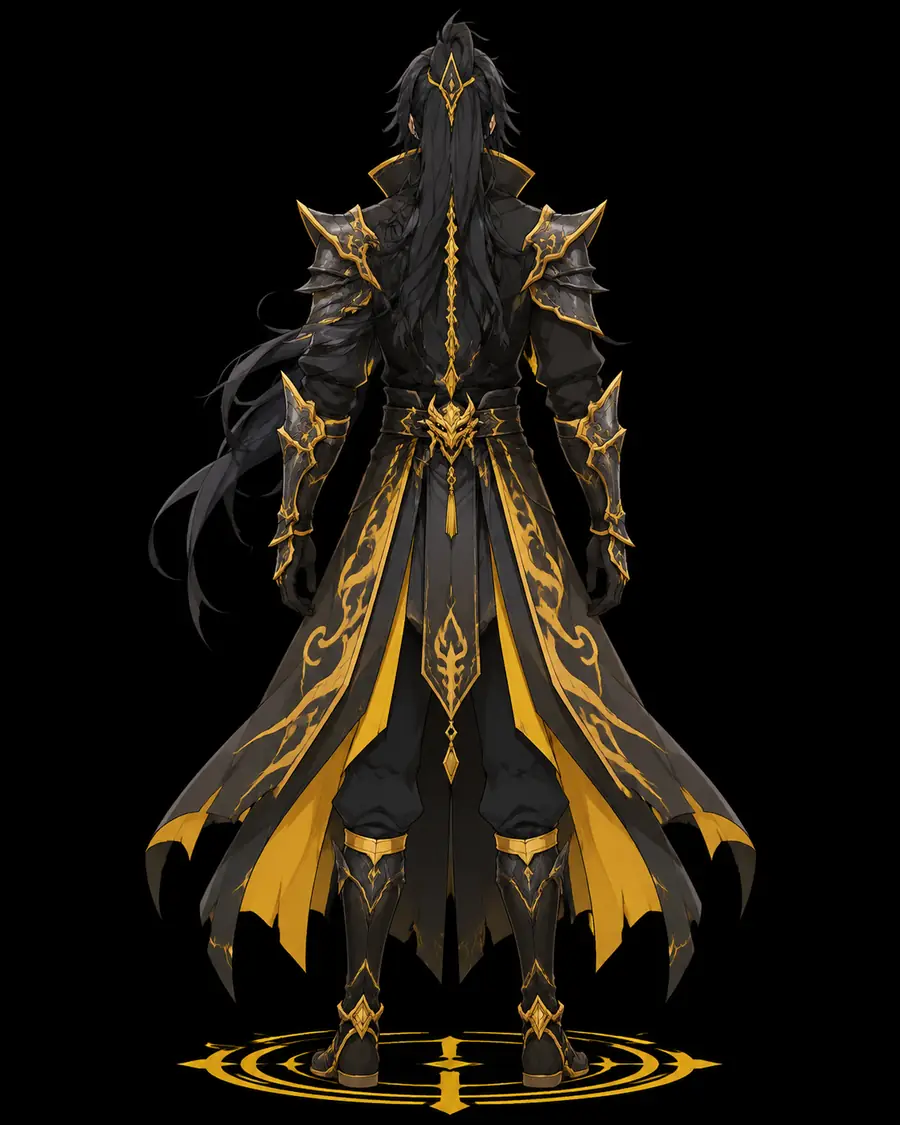
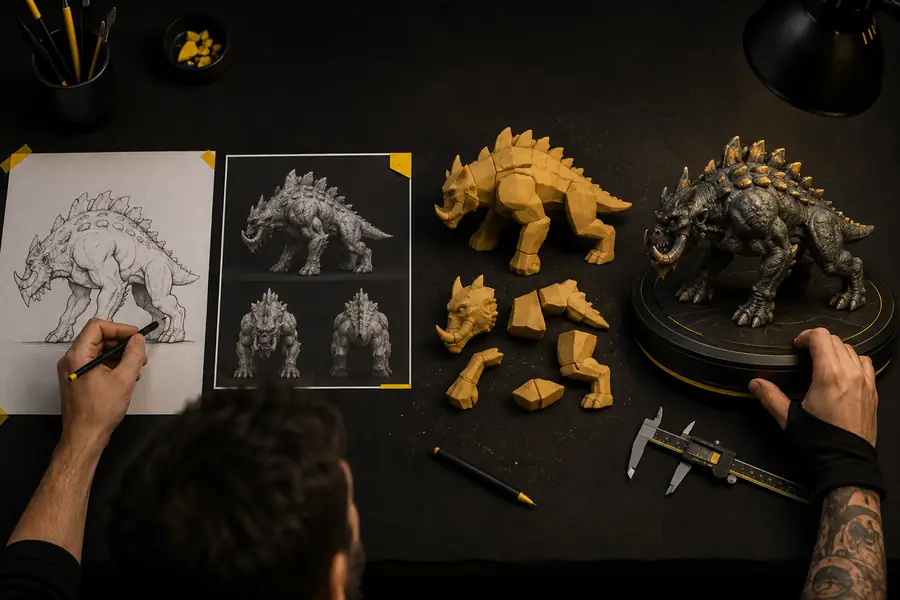
Compare the source and result by silhouette first, then by surface detail. A visually attractive render can still hide missing geometry or incorrect proportions.
- 2D reference
- AI 3D result
Use a matching camera angle for the before-and-after review. If the outline, major negative spaces, and contact points agree, the model is ready for targeted cleanup; if they do not, regenerate with a better reference rather than polishing the wrong shape.
Set expectations
Tutorial FAQ
AI reconstruction is useful for blocking out ideas and creating a strong starting point, but it does not recover information that the image never shows.
-
Can one image reveal the entire object?
No. Hidden surfaces, the back, underside, and internal structure are inferred from visual patterns rather than recovered from evidence.
WorkaroundProvide additional views when available, or simplify the asset so unseen areas are intentionally designed during cleanup.
-
Will the generated mesh be production-ready?
Not always. A result may contain uneven density, stretched polygons, floating fragments, non-manifold areas, or weak topology around narrow features.
WorkaroundInspect the mesh in a 3D editor, remove artifacts, recalculate normals, retopologize when necessary, and test it in the destination application.
-
Does the workflow preserve exact dimensions?
No. A single reference image rarely provides reliable scale, and perspective can make proportions appear larger or smaller than they are.
WorkaroundMeasure a known feature, set the model units manually, and verify the final dimensions before manufacturing, simulation, or engine integration.
-
Can AI reproduce every material and texture detail?
It can suggest surface color and roughness, but text, logos, transparent parts, reflective surfaces, and fine patterns may be blurred or misplaced.
WorkaroundTreat generated materials as a draft, then replace important labels, textures, and physically sensitive surfaces by hand.
-
What is the best way to improve a weak result?
Change one variable at a time: improve the crop, simplify the background, select a clearer angle, or describe the key shape more precisely.
WorkaroundSave each version and compare silhouettes before choosing the next refinement path.