Blender lighting guide
A practical workflow to add lighting in Blender for 3D models
Whether your asset came from tripo3d or was modeled by hand, the right light setup reveals form, improves materials, and makes a finished scene easier to judge. Start with the path that matches your output.
- 2
- lighting paths
- 3
- final checks
- 1
- repeatable setup
Choose your route
Decide which case you are
The lighting decisions for a single product render are different from those for an animated or real-time scene. Choose a route before moving lamps around so every adjustment has a purpose.
-
1
Identify the viewing goal
Decide whether you need a clean still image, a turntable, a cinematic animation, or a game-ready preview. Your goal determines how much contrast, shadow movement, and render consistency you can use.
-
2
Build a simple key setup
Begin with one large key light placed above and to one side of the model. Judge the direction of the main shadow before adding fill, rim, color, or effects.
-
3
Refine without hiding form
Add only the lights that solve a visible problem. Check the silhouette, material response, contact shadow, and background separately instead of chasing a brighter image.
Before you begin
Path A: Studio lighting for a still render
Use this path for a portfolio image, product presentation, reference sheet, or any frame where you control the camera and can spend time balancing the scene.
-
A Blender scene with the model correctly scaled and oriented
RequiredApply transforms when scale or rotation is producing unexpected shadow behavior.
-
A camera with the final framing already selected
RequiredLighting should support the composition you will actually render, not a temporary viewport angle.
-
A neutral world background or low-strength environment light
RequiredKeep the environment restrained while you establish the key light.
-
One large Area light for the primary illumination
RequiredA broad source creates softer, more readable shadows than a small point source.
-
A second, weaker fill light or reflector
OptionalUse it only when the shadow side loses important shape information.
-
A separate rim or back light
OptionalAdd this when the silhouette blends into the background, especially on dark models.
-
Material previews or test renders at low resolution
RequiredFast previews make it easier to compare lighting changes without waiting for a final render.
Continue the workflow
Path B: Lighting for animation and real-time scenes
For animation, turntables, Unity previews, or interactive presentation, prioritize stable exposure and predictable shadows over a dramatic single-frame effect.
A short history
Final check
Modern Blender lighting workflows grew from physical studio conventions, offline rendering, and real-time constraints. That history explains why a simple, layered setup remains dependable.
-
Three-point studio lighting becomes a shared visual language
Key, fill, and rim lights gave artists a repeatable way to describe shape and separate a subject from its background. The pattern still works well for isolated 3D assets.
-
Physically based rendering changes material expectations
As shaders began responding more realistically to light, artists had to judge roughness, reflections, and energy balance instead of treating brightness as a purely artistic slider.
-
HDR environments make believable illumination accessible
Image-based lighting added natural reflections and soft ambient color with fewer manual lamps. It is useful for context, but a controlled key is still valuable for clear form.
-
One asset may need several lighting targets
A model can appear in a hero render, a turntable, a game engine, and a product viewer. Consistent exposure and readable shadows matter more than one spectacular setup.
Compare the result
Tutorial FAQ
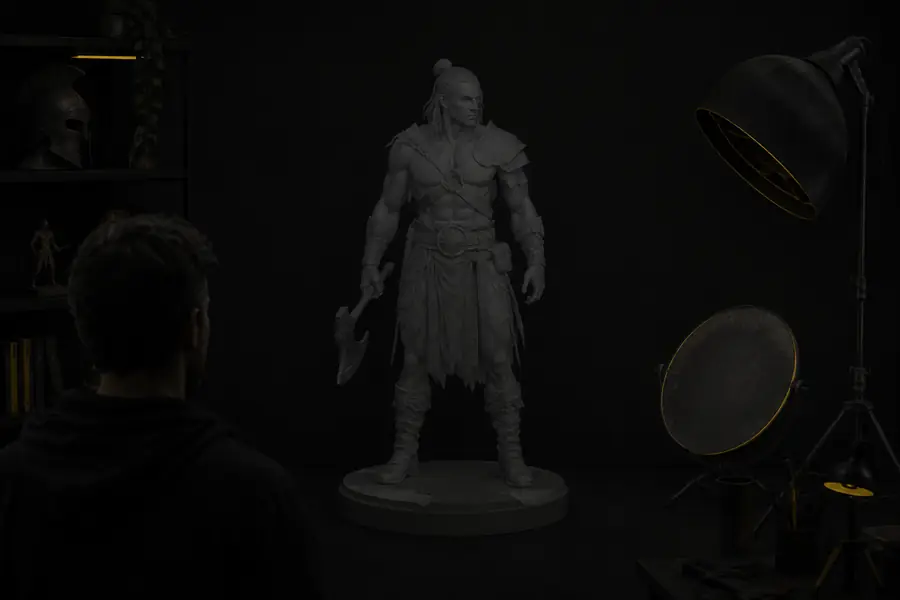
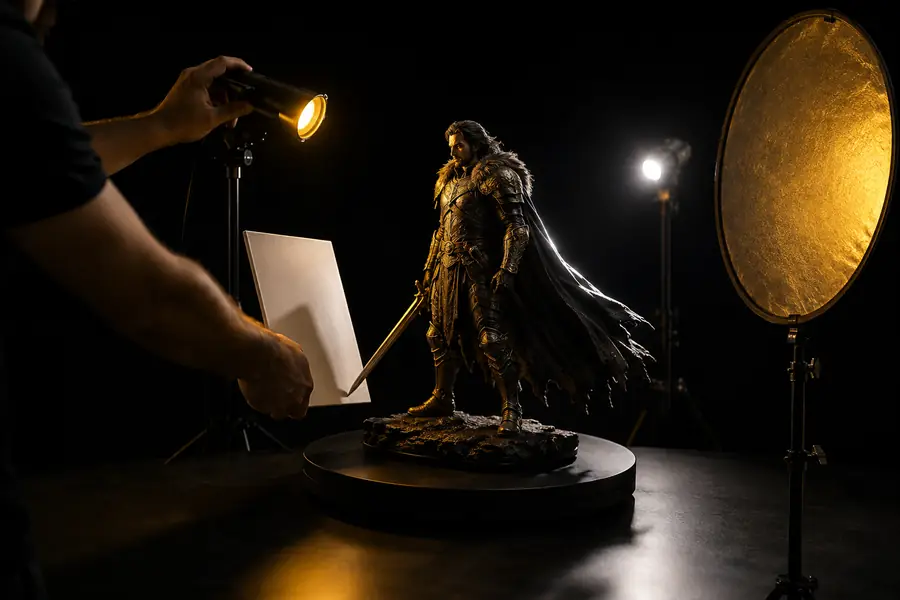
Use the before-and-after view as a diagnostic, not just a beauty comparison. A good setup should make the model easier to read without changing its geometry or materials.
- Before: uncontrolled light
- After: layered light
Why does my model still look flat? Start by moving the key light rather than increasing every light. Flatness often comes from a light placed too close to the camera, a world background that is too bright, or materials with little roughness variation. Should I use an HDRI or lamps? Use an HDRI for natural ambient reflections and a lamp for deliberate direction and shadow control; combining both is often more flexible. How many lights do I need? One well-placed Area light is enough to begin. Add fill or rim lighting only when a specific part of the model disappears. Why are my shadows too harsh? Increase the Area light size, move it farther away while preserving brightness, or introduce a restrained fill. Avoid removing all shadow, because contact and cast shadows help anchor the model.
Know the limits
What this lighting route cannot do
Lighting improves presentation, but it cannot repair every problem in a 3D asset. Separate lighting issues from geometry, material, and rendering issues before adding more complexity.
-
It cannot fix broken geometry
A missing face, inverted normal, non-manifold edge, or badly stretched mesh may produce strange dark areas that look like lighting errors.
WorkaroundInspect face orientation, recalculate normals, apply transforms, and use a solid viewport inspection before rebuilding the light rig.
-
It cannot create detail that is not modeled
A lamp can reveal bevels, texture, and curvature, but it cannot invent a convincing handle, seam, underside, or structural feature.
WorkaroundReturn to the modeling or image-to-3D stage and add the missing form before trying stronger contrast.
-
It cannot guarantee identical results in every renderer
Cycles, Eevee, Blender viewport previews, and game engines interpret shadows, reflections, color management, and ambient occlusion differently.
WorkaroundTest in the renderer that will produce the final image, then document exposure, light intensity, color management, and shadow settings.
-
It cannot replace a clear composition
A beautifully lit object can still be difficult to understand if the camera crops important features or the background has insufficient tonal separation.
WorkaroundLock the camera early, simplify the background, and check the silhouette at thumbnail size before polishing the lighting.